# Opening case and assembling \[33P\]
**URL:** https://forum.clockworkpi.com/t/opening-case-and-assembling-33p/394
**Category:** GameShell
**Created:** [June 29, 2018, 12:50pm UTC](https://forum.clockworkpi.com/t/opening-case-and-assembling-33p/394 "2018-06-29T12:50:26Z")
**Posts on this page:** 15
**Page:** 1
### Author:  [@satoi8080](https://forum.clockworkpi.com/u/satoi8080)
#### Post date: [June 29, 2018, 12:50pm UTC](https://forum.clockworkpi.com/t/opening-case-and-assembling-33p/394/1 "2018-06-29T12:50:26Z")
I received a call by courier in the early morning, I thought it was some snacks I bought online, but when I go downstairs I was surprised. It’s definitely not snacks.

The package.

The box.

And the left side of the box.

The ugly goggles.

The lego compatible shell for light key module.

The front shell.

The rear shell (I used the lego shell instead at last)

What are they? Snacks?

Light key module.

Another box inside.


Yeah! Manual and stickers!


The box for modules.


NOTE: Though the manual says side cutter is optional but according to my experience it’s neccesary.It would be great if you have tools for assembling Gundam already. Also some abrasive paper would be fine. Or the small boxes won’t fit in the shell due to the projections.
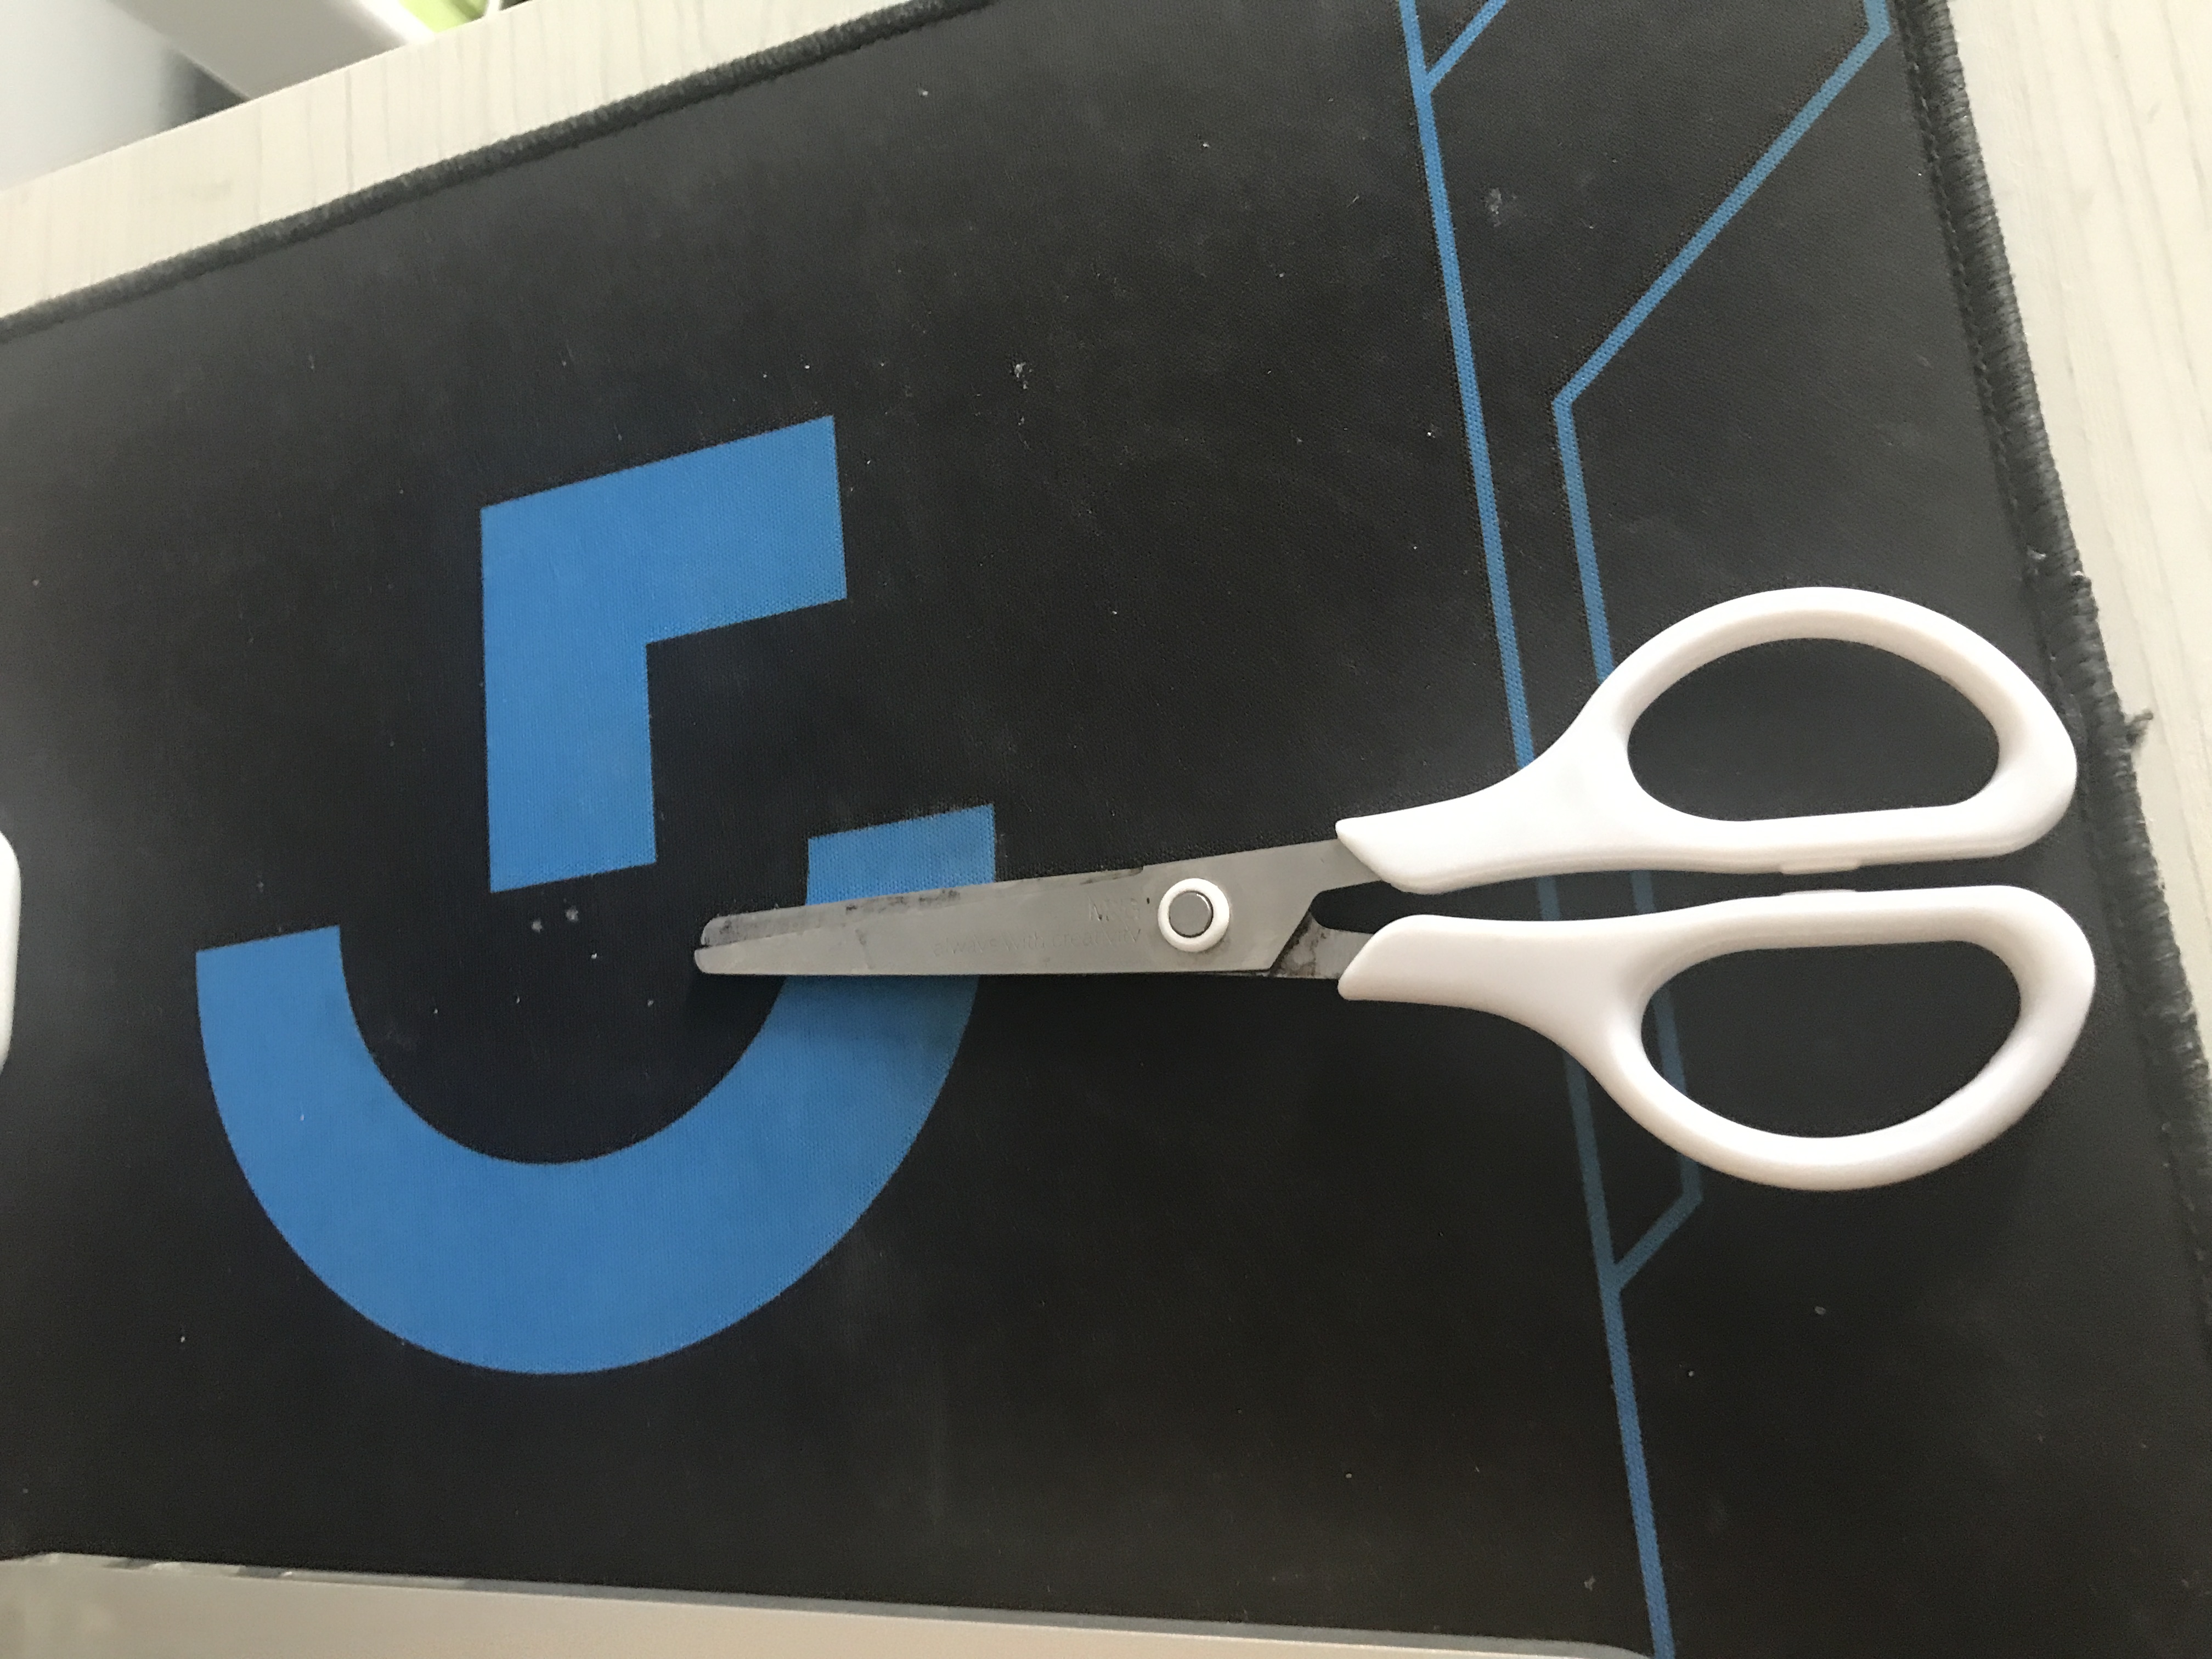
My poor scissors. It took me a lot effort to cut those plastic parts down.

The electric components.

A close look at the mainboard, a chip at the upper right corner seems to be removed.

Oh man, the plastic bag of the battery isn’t seald.

The keypad module is a little hard to assemble because the D-pad is not attached to the board.

The wires between screen and mainboard.
Locked very tight.


Turn around and boot!
Conclusion:
1. It took me about 2 hours to finish assembling.
2. Battery is not big enough.
3. There was a mistake on the manual @yong , the wire of keypad module is 4 Pin and power is 2 Pin in fact, but they were shown reversely misplaced, which made me confused for a while.
4. I was sad that I didn’t find Terminal at the beginning, but after connecting though ssh and reboot again I found that the start screen is same as ssh. It was already in the Bash and automatically started the launcher. Which meas if I want to use the Bash (I want zsh in fact XD), I have to quit the launcher. And All I need is a QWERTY keyboard then.
* * *
I tried to install zsh and oh-my-zsh, and changed default shell, the I stopped at the shell console, and I found out the ABXY and light keys are simulated as jkui and hlyo.


---
### Author:  [@Petrakis](https://forum.clockworkpi.com/u/Petrakis)
#### Post date: [June 29, 2018, 1:00pm UTC](https://forum.clockworkpi.com/t/opening-case-and-assembling-33p/394/2 "2018-06-29T13:00:34Z")
Can´t wait for mine!
For the point number 4, you coud use a terminal multiplexer like tmux (or screen)
---
### Author:  [@satoi8080](https://forum.clockworkpi.com/u/satoi8080)
#### Post date: [June 29, 2018, 1:06pm UTC](https://forum.clockworkpi.com/t/opening-case-and-assembling-33p/394/3 "2018-06-29T13:06:25Z")
I don’t think the screen is big enough for a tmux 😂
---
### Author:  [@Petrakis](https://forum.clockworkpi.com/u/Petrakis)
#### Post date: [June 29, 2018, 1:08pm UTC](https://forum.clockworkpi.com/t/opening-case-and-assembling-33p/394/4 "2018-06-29T13:08:09Z")
Im not talking about panes but tabs [https://gist.github.com/MohamedAlaa/2961058](https://gist.github.com/MohamedAlaa/2961058)
Instead of splitting the window, you create a new window and you can switch them.
---
### Author:  [@satoi8080](https://forum.clockworkpi.com/u/satoi8080)
#### Post date: [June 29, 2018, 1:19pm UTC](https://forum.clockworkpi.com/t/opening-case-and-assembling-33p/394/5 "2018-06-29T13:19:45Z")
Thank you for your gist!
In the other way, I think with the combination of light key module it’s enough for 26 alphabets (5 keys for 32 statuses) but it’s very hard to use and memorize. 😂
---
### Author:  [@aewens](https://forum.clockworkpi.com/u/aewens)
#### Post date: [June 29, 2018, 1:30pm UTC](https://forum.clockworkpi.com/t/opening-case-and-assembling-33p/394/6 "2018-06-29T13:30:59Z")
I was personally going to try to write a mod to use the D-Pad to input Morse code to emulate a keyboard in a pinch. Not necessarily as a practical use case, but as something fun and in a way that might finally help me learn to read Morse code without a cheat sheet.
---
### Author:  [@Abbadon](https://forum.clockworkpi.com/u/Abbadon)
#### Post date: [June 29, 2018, 1:31pm UTC](https://forum.clockworkpi.com/t/opening-case-and-assembling-33p/394/7 "2018-06-29T13:31:38Z")
Nice! thanks for the review, I’ll get my side cutters ready 😛
---
### Author:  [@hal](https://forum.clockworkpi.com/u/hal)
#### Post date: [June 29, 2018, 1:45pm UTC](https://forum.clockworkpi.com/t/opening-case-and-assembling-33p/394/8 "2018-06-29T13:45:23Z")

There is a better routing for the LightKey.
---
### Author:  [@Petrakis](https://forum.clockworkpi.com/u/Petrakis)
#### Post date: [June 29, 2018, 2:20pm UTC](https://forum.clockworkpi.com/t/opening-case-and-assembling-33p/394/9 "2018-06-29T14:20:50Z")
Same, I was thinking about making a mod, but using some sort of wheel like weapon selection from CS:GO
---
### Author:  [@hal](https://forum.clockworkpi.com/u/hal)
#### Post date: [July 7, 2018, 3:44am UTC](https://forum.clockworkpi.com/t/opening-case-and-assembling-33p/394/10 "2018-07-07T03:44:14Z")
> 1. There was a mistake on the manual @yong , the wire of keypad module is 4 Pin and power is 2 Pin in fact, but they were shown reversely misplaced, which made me confused for a while.
@satoi8080 Thank you for catching this mistake, we have updated the manual at GitHub:
>

---
### Author:  [@Rene\_Rosa](https://forum.clockworkpi.com/u/Rene_Rosa)
#### Post date: [July 22, 2018, 2:13pm UTC](https://forum.clockworkpi.com/t/opening-case-and-assembling-33p/394/11 "2018-07-22T14:13:40Z")
Thank you so much for this! I had such hard time installing the ribbon cable for the screen until i saw this! You have done us a great service! lol
---
### Author:  [@Wicked68](https://forum.clockworkpi.com/u/Wicked68)
#### Post date: [July 26, 2018, 3:08am UTC](https://forum.clockworkpi.com/t/opening-case-and-assembling-33p/394/12 "2018-07-26T03:08:16Z")
Got mine today, it was a bit of a pain to assemble, probably took me an hour. I wasn’t expecting to have to punch out each individual part from the sheet plastic. I’m new to this OS, so I’ll have to do some research before I do anything too special
---
### Author:  [@Zozie](https://forum.clockworkpi.com/u/Zozie)
#### Post date: [August 2, 2018, 6:42pm UTC](https://forum.clockworkpi.com/t/opening-case-and-assembling-33p/394/13 "2018-08-02T18:42:35Z")
I have to say I’m not the sharpest tool in the shed, assembly took me about two hours but when I turned it on my keypad was not working. I opened the case and the keypad connector was broken from the mainboard.
I would strongly suggest everyone to go through this thread carefully before assembly, it would have been a great help (it still is).
---
### Author:  [@Petrakis](https://forum.clockworkpi.com/u/Petrakis)
#### Post date: [August 2, 2018, 7:03pm UTC](https://forum.clockworkpi.com/t/opening-case-and-assembling-33p/394/14 "2018-08-02T19:03:42Z")
If you have a friend with a soldering iron, ask him to solder the wires directly to the mainboard without connectorm, or to replace the connector.
---
### Author:  [@PandaQuQ](https://forum.clockworkpi.com/u/PandaQuQ)
#### Post date: [December 18, 2019, 7:27am UTC](https://forum.clockworkpi.com/t/opening-case-and-assembling-33p/394/15 "2019-12-18T07:27:53Z")
Hi,@Petrakis
I just met the problem that you’ve met before.
> I tried to install zsh and oh-my-zsh, and changed default shell, the I stopped at the shell console, and I found out the ABXY and light keys are simulated as jkui and hlyo.
For this part, it is easy to fix:
Because the native _bashrc_(which at `~/.bashrc`) has been modified by CPI.
So we should add the scripts into _zshrc_(which at `~/.zshrc`):
commit the line 73:
```
#source $ZSH/oh-my-zsh.sh
```
then add lines at the end:
```
if [-f ~/launcher/.cpirc]; then
. ~/launcher/.cpirc
fi
source /home/cpi/.gitprompt
source $ZSH/oh-my-zsh.sh
```
**Caution: You should source ohmyzsh script after cpi gitprompt script**
And reboot your device you will find everything will go perfectly.
_**BTW: All the oh-my-zsh users should notice this perfect theme:[Spaceship Theme](https://denysdovhan.com/spaceship-prompt/)**_
