hi all, I just recieved my new PicoCalc Display (first one was broken) and assembled it. However, when I turn it on, it doesn’t seem to be booting.i have the pico 2w Core installed and batteries are fully loaded. I tried different UF Files ( i am familiar with BOOTSEL etc, tried YT Guides and read here) but unsuccessfully.,. Also my shipped with the package SD CARD is empty…i thought there are files on it ? i use linux kubuntu, if important…thanks for newbie help to get this core up an running with wifi, etc…thx Martin
I got mine with sd card loaded with pico1 programs. I flashed bios, then uf2loader, it is handy to start uf2 programs. Ensure that video cable and pico are fitted. I assume your battery is charged.
ok?!, but mine is empty…i got WEBMITE WEBRP2350_V6.00.3 up and running after NukeFlash ..but i dont know how to get the uf2loader to start?!
thats all i have so far:
WebMite MMBasic RP2350A Edition V6.00.03
OPTION SERIAL CONSOLE COM1,GP0,GP1
OPTION SYSTEM SPI GP10,GP11,GP12
OPTION SYSTEM I2C GP6,GP7, SLOW
OPTION FLASH SIZE 4194304
OPTION COLOURCODE ON
OPTION DEFAULT COLOURS GREEN, BLACK
OPTION KEYBOARD I2C
OPTION CPUSPEED (KHz) 150000
OPTION LCDPANEL CONSOLE , FF00
OPTION DISPLAY 26, 40
OPTION LCDPANEL ST7796SP, PORTRAIT,GP14,GP15,GP13,INVERT
OPTION SDCARD GP17, GP18, GP19, GP16
OPTION AUDIO GP26,GP27’, ON PWM CHANNEL 5
OPTION PLATFORM PicoCalc
thx martin
Pick the most recent release here: Release v2.3 USB Mass Storage and No-Flash/RAM-only apps · pelrun/uf2loader · GitHub
And follow this: GitHub - pelrun/uf2loader: Bootloader that loads firmware from PicoCalc's SD card Slot.
Beware that some apps like mmbasic won’t boot from uf2loader.
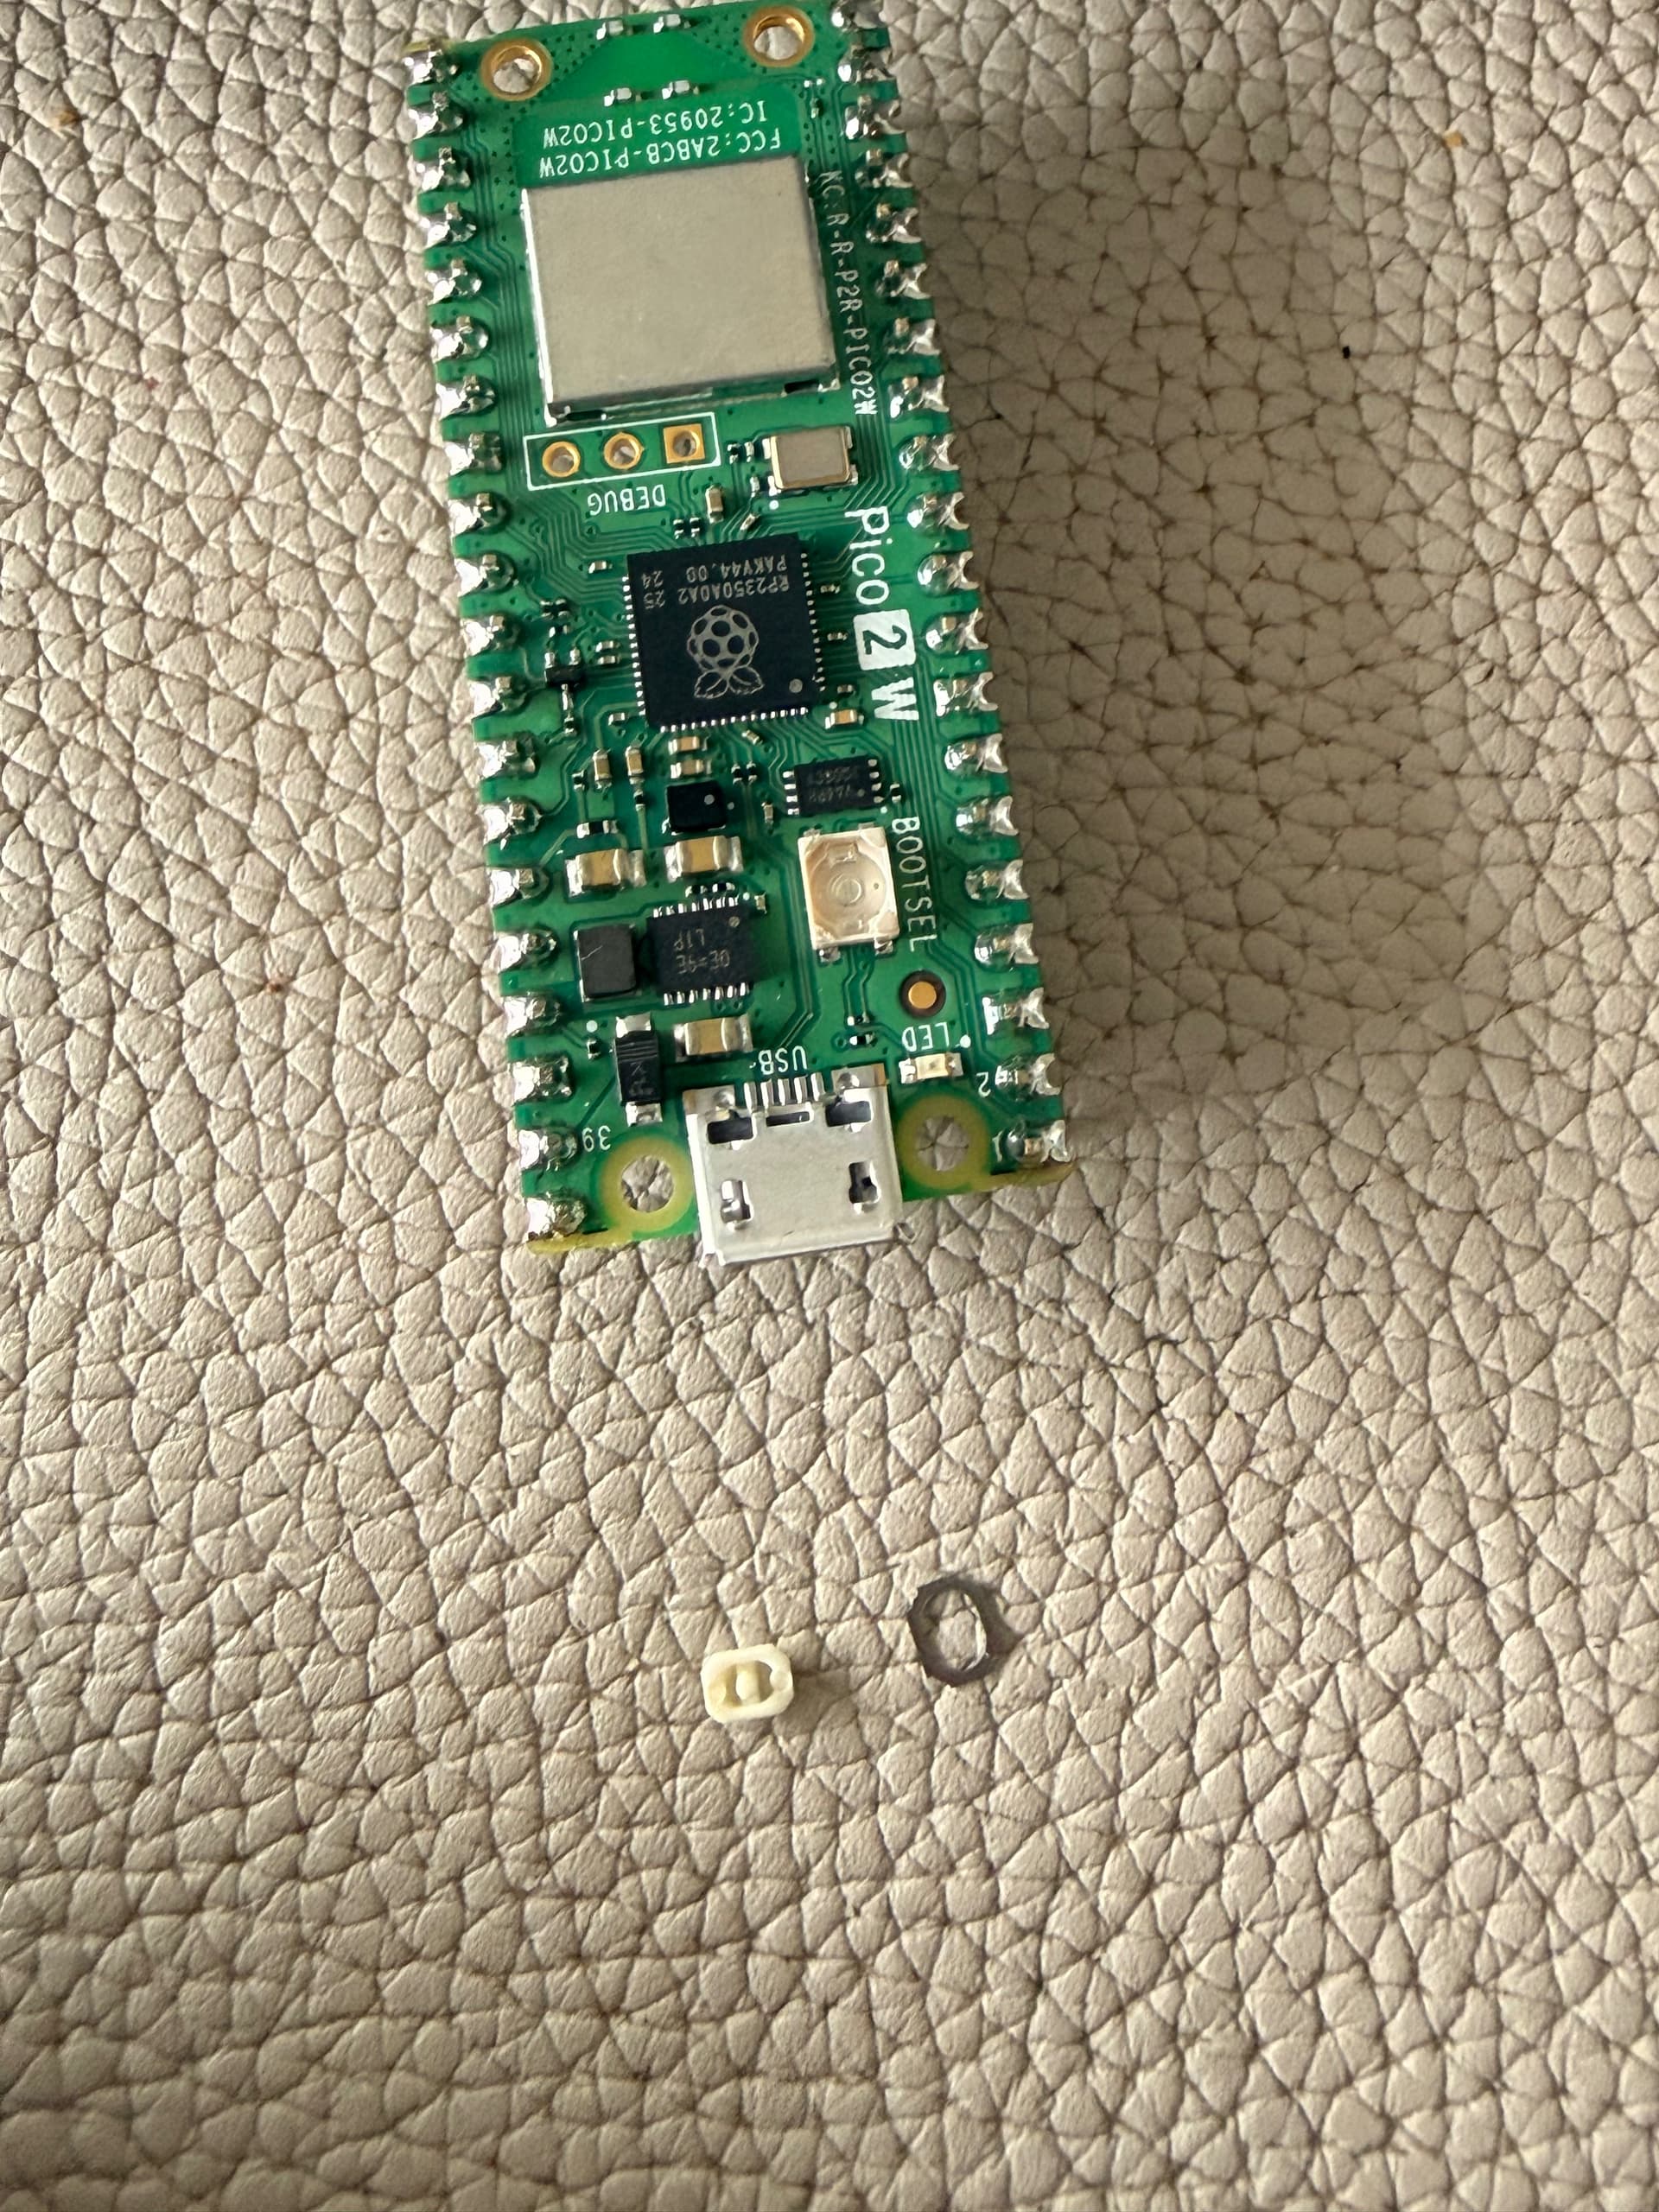
After flashing 10x the bootsel button gave up! It just broke out of the holder/bracket …I am really that frustrated now! Need to buy first a new 2W Core before trying again! ;-(
You can get it into bootloader mode by connecting a terminal set to 1200 baud
1 Like
… or by software (u2floader, picoware(?), text_starter(?) )
https://datasheets.raspberrypi.com/picow/pico-2-w-schematic.pdf
You can solder a short wire to TP6 (bottom) and use this to bridge to one of the ground pins (3,8,13,18,23,28,38).
Thanks, but I am not familiar with soldering ,-(