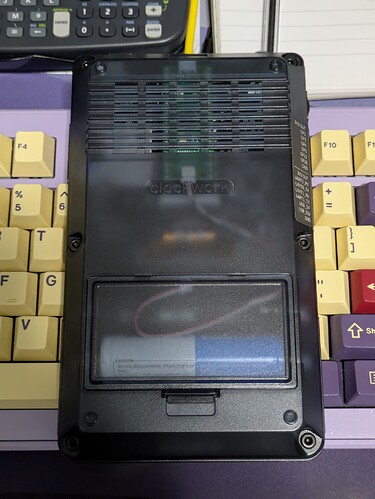
This guide demonstrates how to bypass the repetitive manual steps of firmware flashing on the PicoCalc by leveraging the Pico Probe’s GDB debugging capabilities. Say goodbye to pressing hard-to-reach buttons and enjoy a hands-free, efficient workflow for debugging and firmware update and flashing.
Complete Guide [Original Post]: https://hsuanhanlai.com/accelerate-PicoCalc-debugging/
Setting Up the Pico Probe
Follow the official Pico Probe documentation to install OpenOCD on your system (Windows/Linux/Mac). Once set up, the Pico Probe allows you to keep the PicoCalc powered by its battery while flashing firmware seamlessly.
Flashing Firmware
Use the following commands to flash firmware onto your PicoCalc:
For Pico 1 Models
sudo openocd -f interface/cmsis-dap.cfg -f target/rp2040.cfg -c "adapter speed 5000" -c "program hello_serial.elf verify reset exit"
For Pico 2 Models
sudo openocd -f interface/cmsis-dap.cfg -f target/rp2350.cfg -c "adapter speed 5000" -c "program hello_serial.elf verify reset exit"
Debugging with OpenOCD and GDB
Start the OpenOCD server:
sudo openocd -f interface/cmsis-dap.cfg -f target/rp2040.cfg -c "adapter speed 5000"
In a separate terminal, navigate to your binary’s directory and attach GDB to the OpenOCD server:
gdb blink.elf

> target remote localhost:3333

> monitor reset init

> continue
Serial Debugging
The PicoCalc includes a built-in serial converter. For serial debugging, connect a USB Type-C cable directly to the PicoCalc instead of using the Pico Probe’s UART debug probe.
Conclusion
By following this guide, you can significantly enhance your PicoCalc development experience, saving time and effort while enjoying the full potential of the Pico Probe’s debugging capabilities.


