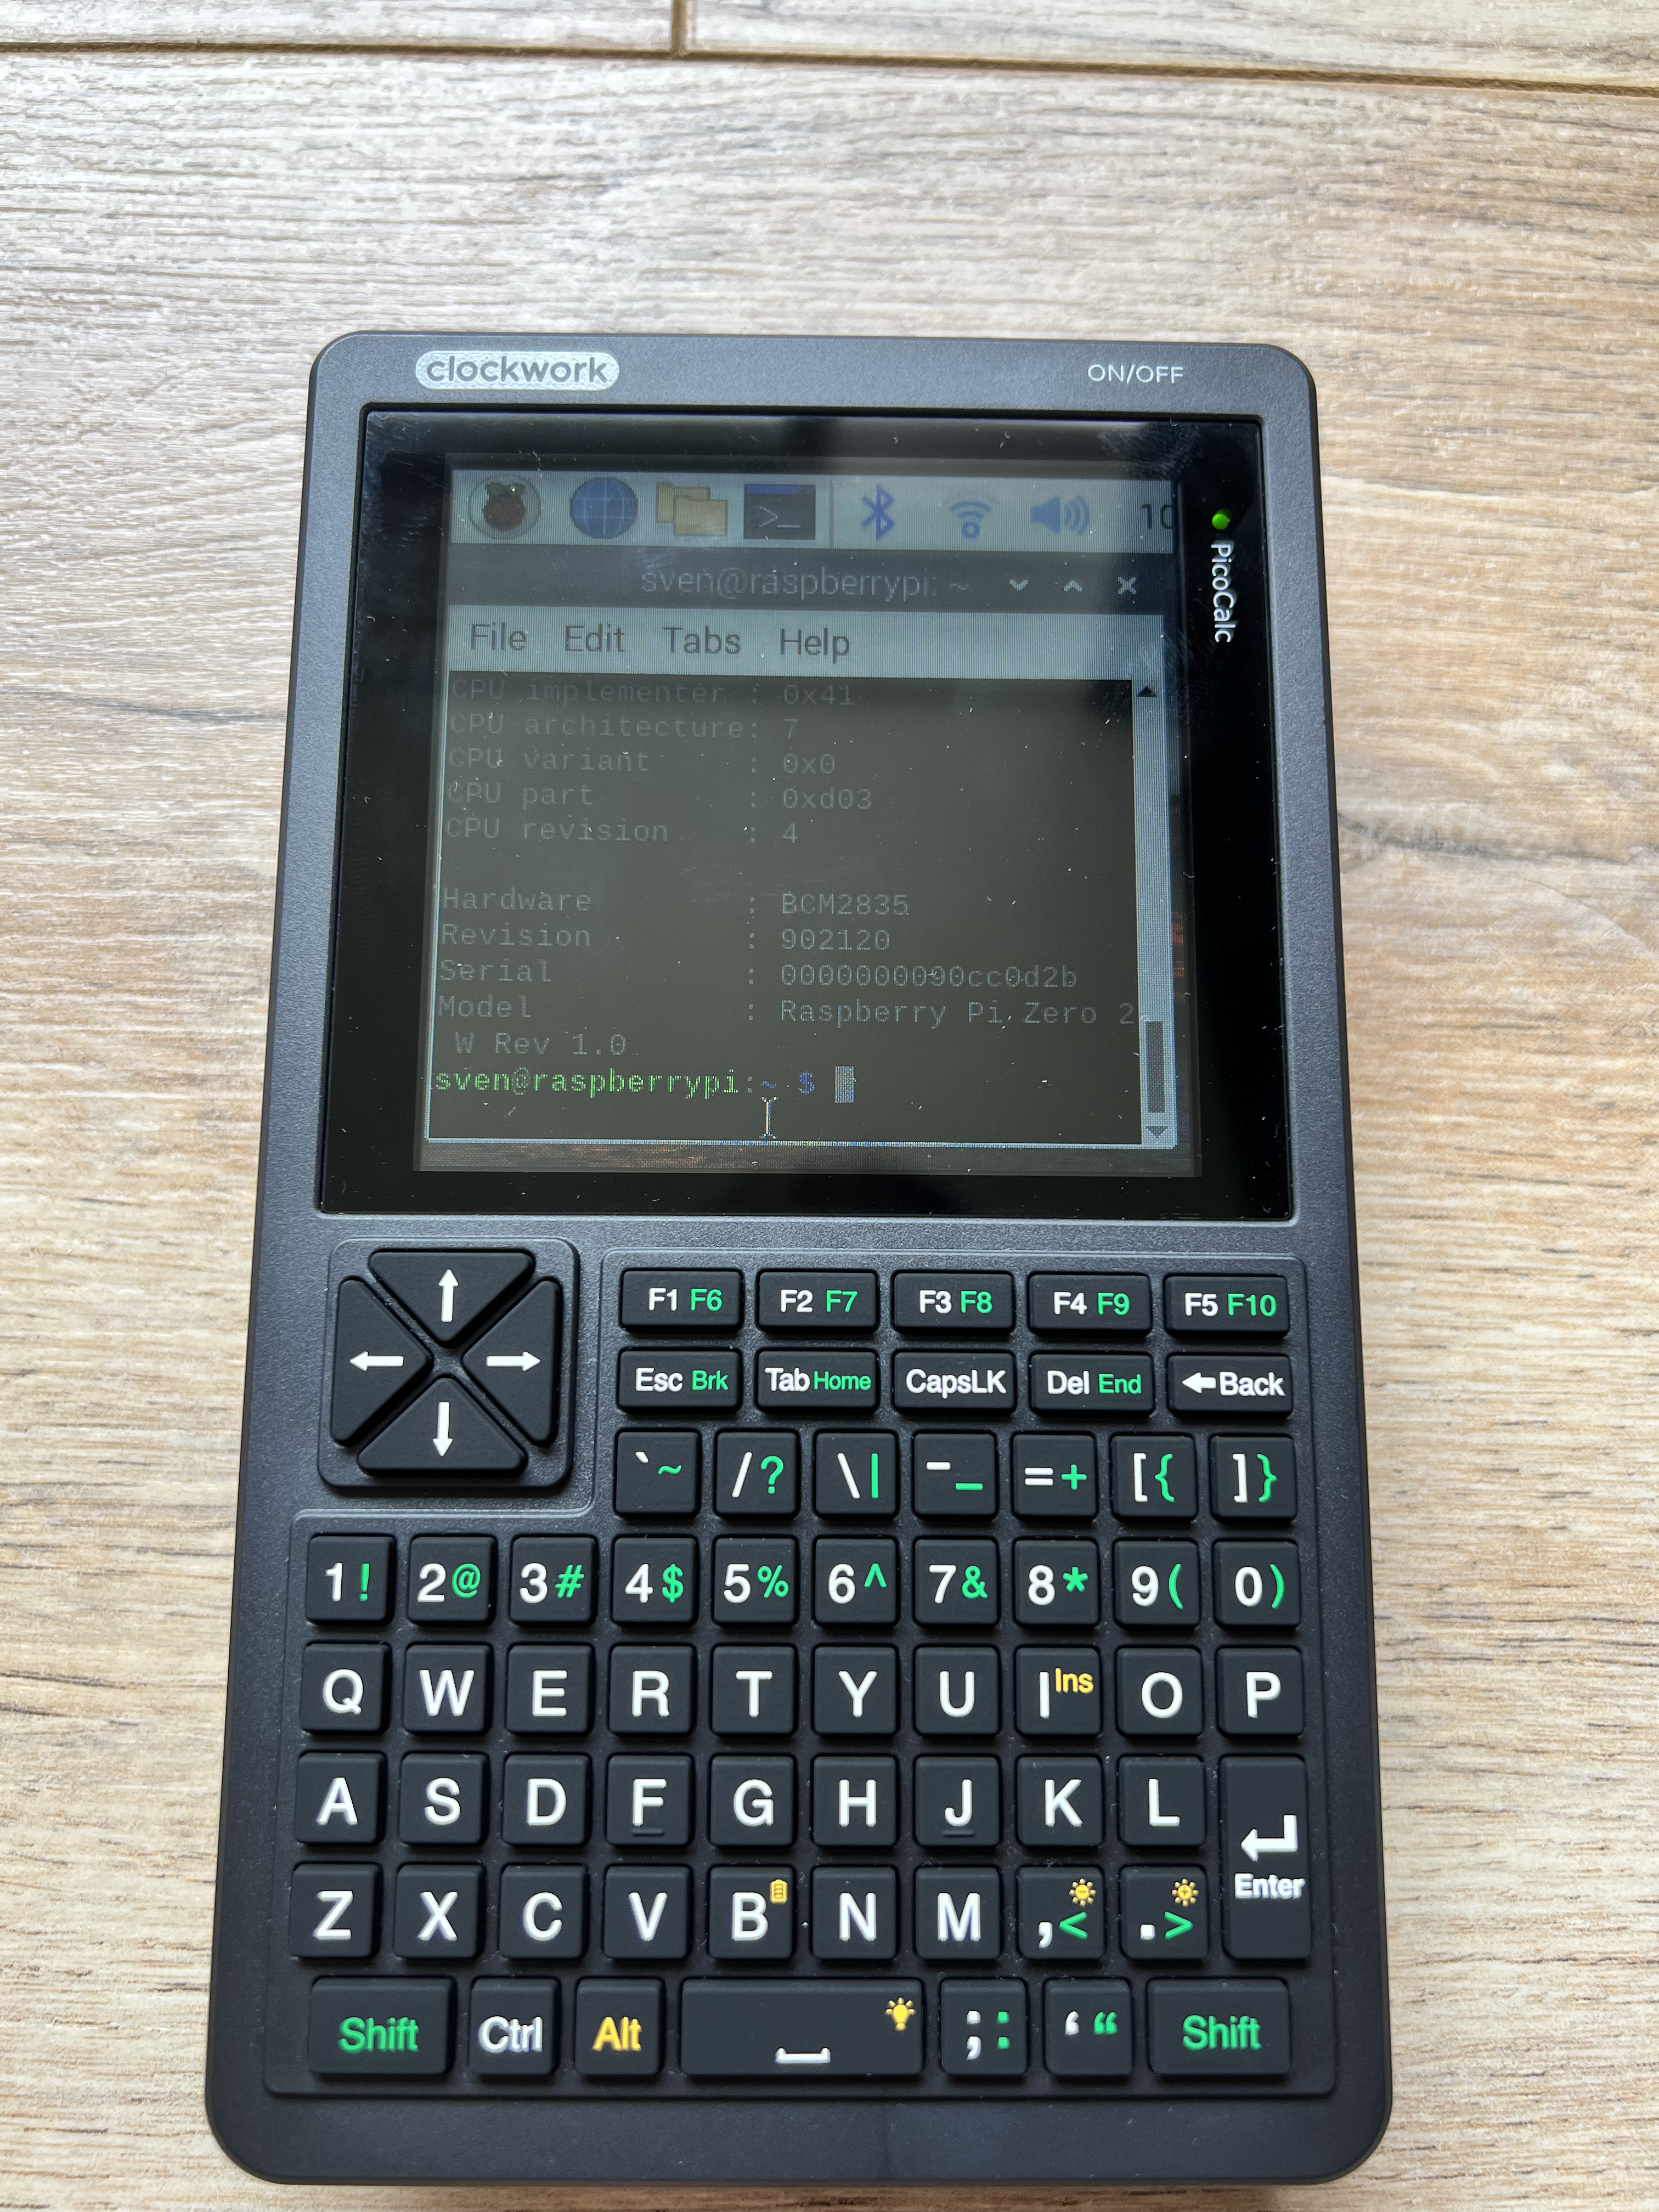
I had been reading along with this forum for 2 months (just after ordering my PicoCalc). When it arrived last week I started hacking and stumbled on this thread and I just had to try it.
I had no issues constructing the adapter board, but getting the software to work was troublesome. I didn’t have a microUSB OTG adapter to connect peripherals to the device, nor a working Bluetooth keyboard and was too stubborn to configure the thing headlessly… hence configuring the additional thingies as described on GitHub - wasdwasd0105/picocalc-pi-zero-2: Raspberry Pi Zero 2 on Picocalc was harder than expected. In the end I put the sd-card in an old Pi 3B I had laying around and configured it in there. I still did encounter some minor issues though:
the setup_display.sh script seemed to expect en_GB.UTF8 locale, which I initially didn’t install. I added them via sudo dpkg-reconfigure localesand selecting en_GB.UTF-8
at the end of setup_display.sh the system rebooted and my (normal) HDMI monitor (of course) didn’t like the configured refresh rate (remember I was still running this on a 3B), so I couldn’t continue to the other things I had to configure (yes I could have probably done it via SSH). However I reinstalled Linux and then commented the reboot line in this script and executed the other things right thereafter (without reboot). Then placing the sd card in the PicoCalc worked right like a charm (see below).
I will post some more msgs in this thread to add more pictures (as I am not allowed to post more than one image per post being a newbie it seems). Thanks to all who already contributed to making this possible.
I did redraw the schematic/pinout as displayed on Github, because I found it very confusing because of the mirrored connectors and pins (I know it is also like that in the original PicoCalc schematic). So for whom want to build the adapter board themselves, this may help you.
Facing of the board and the connectors in my drawing is from:
looking straight at the backside of the PCB of your PicoCalc (with on the left the SD-card slot, and on the right the volume control);
Pi Zero is soldered facing upwards from the underside of the adapter board (i.e. with the connectors and processor facing towards you).
Most convenient is to place the Pi Zero connector’s first row of pins (i.e. pin 1 and 2), horizontally inline with pin 6 of the connectors J302 and J301.
Do I need the new case to have the Zero 2W in my PicoCalc with your PCB and stuff? Or can I just use the original one by ClockworkPi, as I like the colours and how it is semi-transparent, and fits in with the rest of the device.
with your board/pcb and including soldering, how hard would it be to put the Pi Zero 2W in the PicoCalc securely (so it doesn’t wobble around or fall out) for a beginner?
The HDMI screen resolution is written as follows in /boot/config.txt:
hdmi_cvt=320 320 60 1 0 0 0
So, changing this to
hdmi_cvt=640 640 …
will change the HDMI screen to 640x640.
Then, fbcp-ili9341 will shrink the PicoCalc screen to 320x320.
(I use a 640x640 setting because it allows the setting dialogs of various applications to fit on one screen.)
However, depending on your HDMI monitor, odd resolutions may not display properly.
This is a very useful feature if you find the 320x320 PicoCalc screen too narrow.
However, you will need to reconfigure the font to make it easier to read, and it may cause problems with applications that were previously running fine.
Anyone done a battery life test for the Zero 2W in the PicoCalc? I wanna see if it would last me a full working day if I decided to put it in my PicoCalc.
Thanks for the Response. This may be be a compromise for now.
I wish it would not mirror it, rather allow 2 different resolutions, if this is even possible on the PI Zero. There is a video of someone who has managed to do this but it is 8 Years old!
Raspian have changed a lot in the past years.
Edit: It seems it had something to do that the spi driver is not running or is compatible with KMS. It only mirrors the HDMI output.
Maybe there is some other driver out there, i keep searching…
Update:
I have checked yesterday regarding bookworm and keyboard and sound are running(With some tweaks) But I was not able to find any Display driver for Bookworm. ..
Update 2:
I have some partial success, but not quite with this: (/boot/firmware/config.txt)
Thanks for your reply.
I must apologize for misunderstanding your question and writing about monitor mirroring.
I followed the link you provided and watched a video about dual monitors on Raspberry Pi.
It was a puzzle-like technique that required detailed knowledge of X11.
I don’t have the skills to implement it with PicoCalc.
I’ll wait for someone more knowledgeable to come along.
Well, the HDMI was set to a resolution of 640x640, and that was then scaled down and projected onto the PicoCalc’s 320x320 screen, so everything looks small, which is probably how it should be.