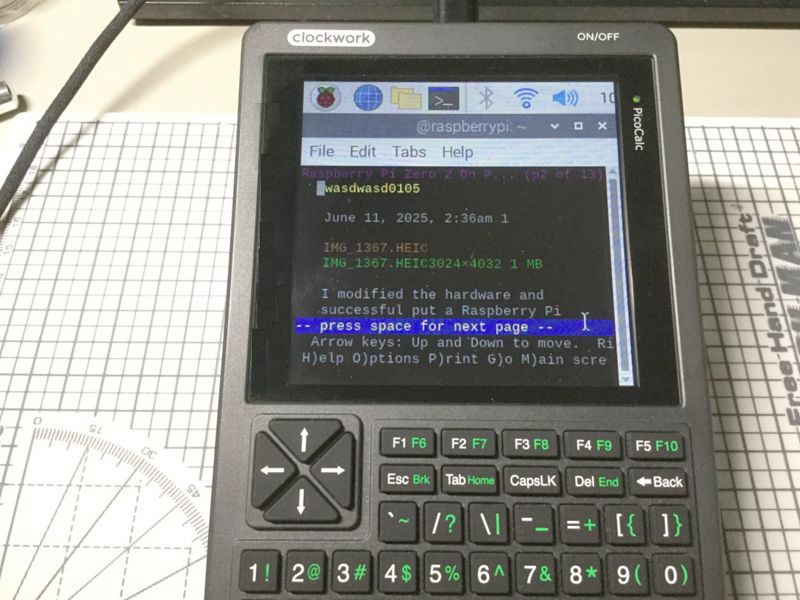
I modified the hardware and successful put a Raspberry Pi Zero 2 inside PicoCalc(and broke the screen).
Display, keyboard and pwm audio are working!
Connect your PicoCalc to the Raspberry Pi Zero 2:

Full guide and driver:
I modified the hardware and successful put a Raspberry Pi Zero 2 inside PicoCalc(and broke the screen).
Display, keyboard and pwm audio are working!
Connect your PicoCalc to the Raspberry Pi Zero 2:
Full guide and driver:
Does this have the Pi Zero (W?) replace the Pico, or does the PicoCalc provide the terminal keyboard and screen for the Pi?
It should work. Any Pi except Pi 5 can install fbcp-ili9341.
As we can se UI is assume it is connected directly to the pins of the picocalc.
Thank you @wasdwasd0105 for your groundbreaking and amazing work.
When I saw your post and github, I couldn’t help but want to try this right away.
So I wired a simple board that connects PicoCalc and RasPiZERO2W, as shown in the photo below, and ran the script according to the contents of your github.
PicoCalc			RaspberryPi Zero2W)
Vsys				5V pin2 or 4
GND					GND pin6
LCD_DC GP14 pin19	GP24 pin18
LCD_RST GP15 pin20	GP25 pin 22
SPI1_CS GP13 pin17	GP8 pin 24
SPI1_TX GP11 pin15	GP10 pin 19
SPI1_SCK GP10 pin14	GP11 pin 23
I2C1_SDA GP6 pin9	GP2 pin 03
I2C1_SCL GP7 pin10	GP3 pin 05
PWM_R GP27 pin32	GP13 pin 33
PWM_L GP26 pin31	GP12 pin 32
The possibilities of PicoCalc have been greatly expanded.
I would like to express my deepest gratitude to you.
Amazing Work! I have a few question tho. How did you come to achieve this, as I want to get a Pi Zero 2, without breaking anything else, and making the PicoCalc, look to same from the outside
also another question, is the raspberry pi OS the only OS that will work on it?
This is amazing! Would anyone consider making an adapter board? I for sure would buy one
Edit: In my haste, I realize that j301 and j302 are opposite of the actual board layout per the drawing. oops!
I saw this and built me a board as well. I am using a pi zero 2w. I confirmed that the board and the code worked on a monitor, but after wiring it up I don’t think my system has enough ass to power on the pi. I even tried with brand new batteries that I let charge up over night. I am getting about 2.3v on Vsys pin when the pi is connected. I’ve also tried 2 different pi boards and both are brand new as well.
Vsys is via a mosfet switch that is limited to 2A current, probably not enough spare with the display, stm32 and backlights etc…
“The Zero 2 is powered via a micro-USB socket and requires a 5V 2.5A power supply just like previous generations.”
I am using Michael Mayer’s case with the screw cover and it fits nicely with my low profile board. I just have to get it working now.
While the Zero is designed to run off a 5V input, it can go lower if you accept some limitations. The CPU itself runs on 3.3v and 1.8v supplied by a switching dcdc converter, so it doesn’t actually care what the input voltage is as long as it’s higher than about 3.4v.
As the PicoCalc passes power directly from the batteries to the socket (although current-limited to 2A) this is pretty easily achievable, but the PMU’s low battery indicator isn’t likely to be accurate. (this is also why you shouldn’t connect the Pico’s USB socket to power when there are batteries installed, yikes)
USB and HDMI aren’t guaranteed to work without a full 5V, but some devices don’t actually care.
Edit: As far as the “2.5A power supply” is concerned, the Zero itself only really needs about 0.5A of that. The rest is for powering whatever you have plugged into the USB ports or the expansion header.
Wish I had this knowledge. Just got into making through hole components & how electronics work
The issue was me having the wiring reversed. All is good and it is running. I am getting about 4.2v with brand new fully charged batteries. Good thing this system is forgiving if you do it backwards, it could have been a lot worse. ![]()
Here’s the completed case thanks to Michael Mayer’s. I need to work on the clip for the battery cover to lock properly.
How to emulate mouse?
Here’s my attempt:
This one has a 5V boost on the VSYS line to get the proper voltage, and a USB hub backpack.
I’m not sure why the resolution expanded when I enabled VNC, and the resolution is a little small to use for most things, but it works. (Also not sure how to enable the mouse emulation)
Great work!
You can change UI size on Preference → Appearance Settings → Defaults
Lol that’s quite a hump ![]()