Perfect I’ll give this a try later today. Thanks for your help
1 Like
Hi,
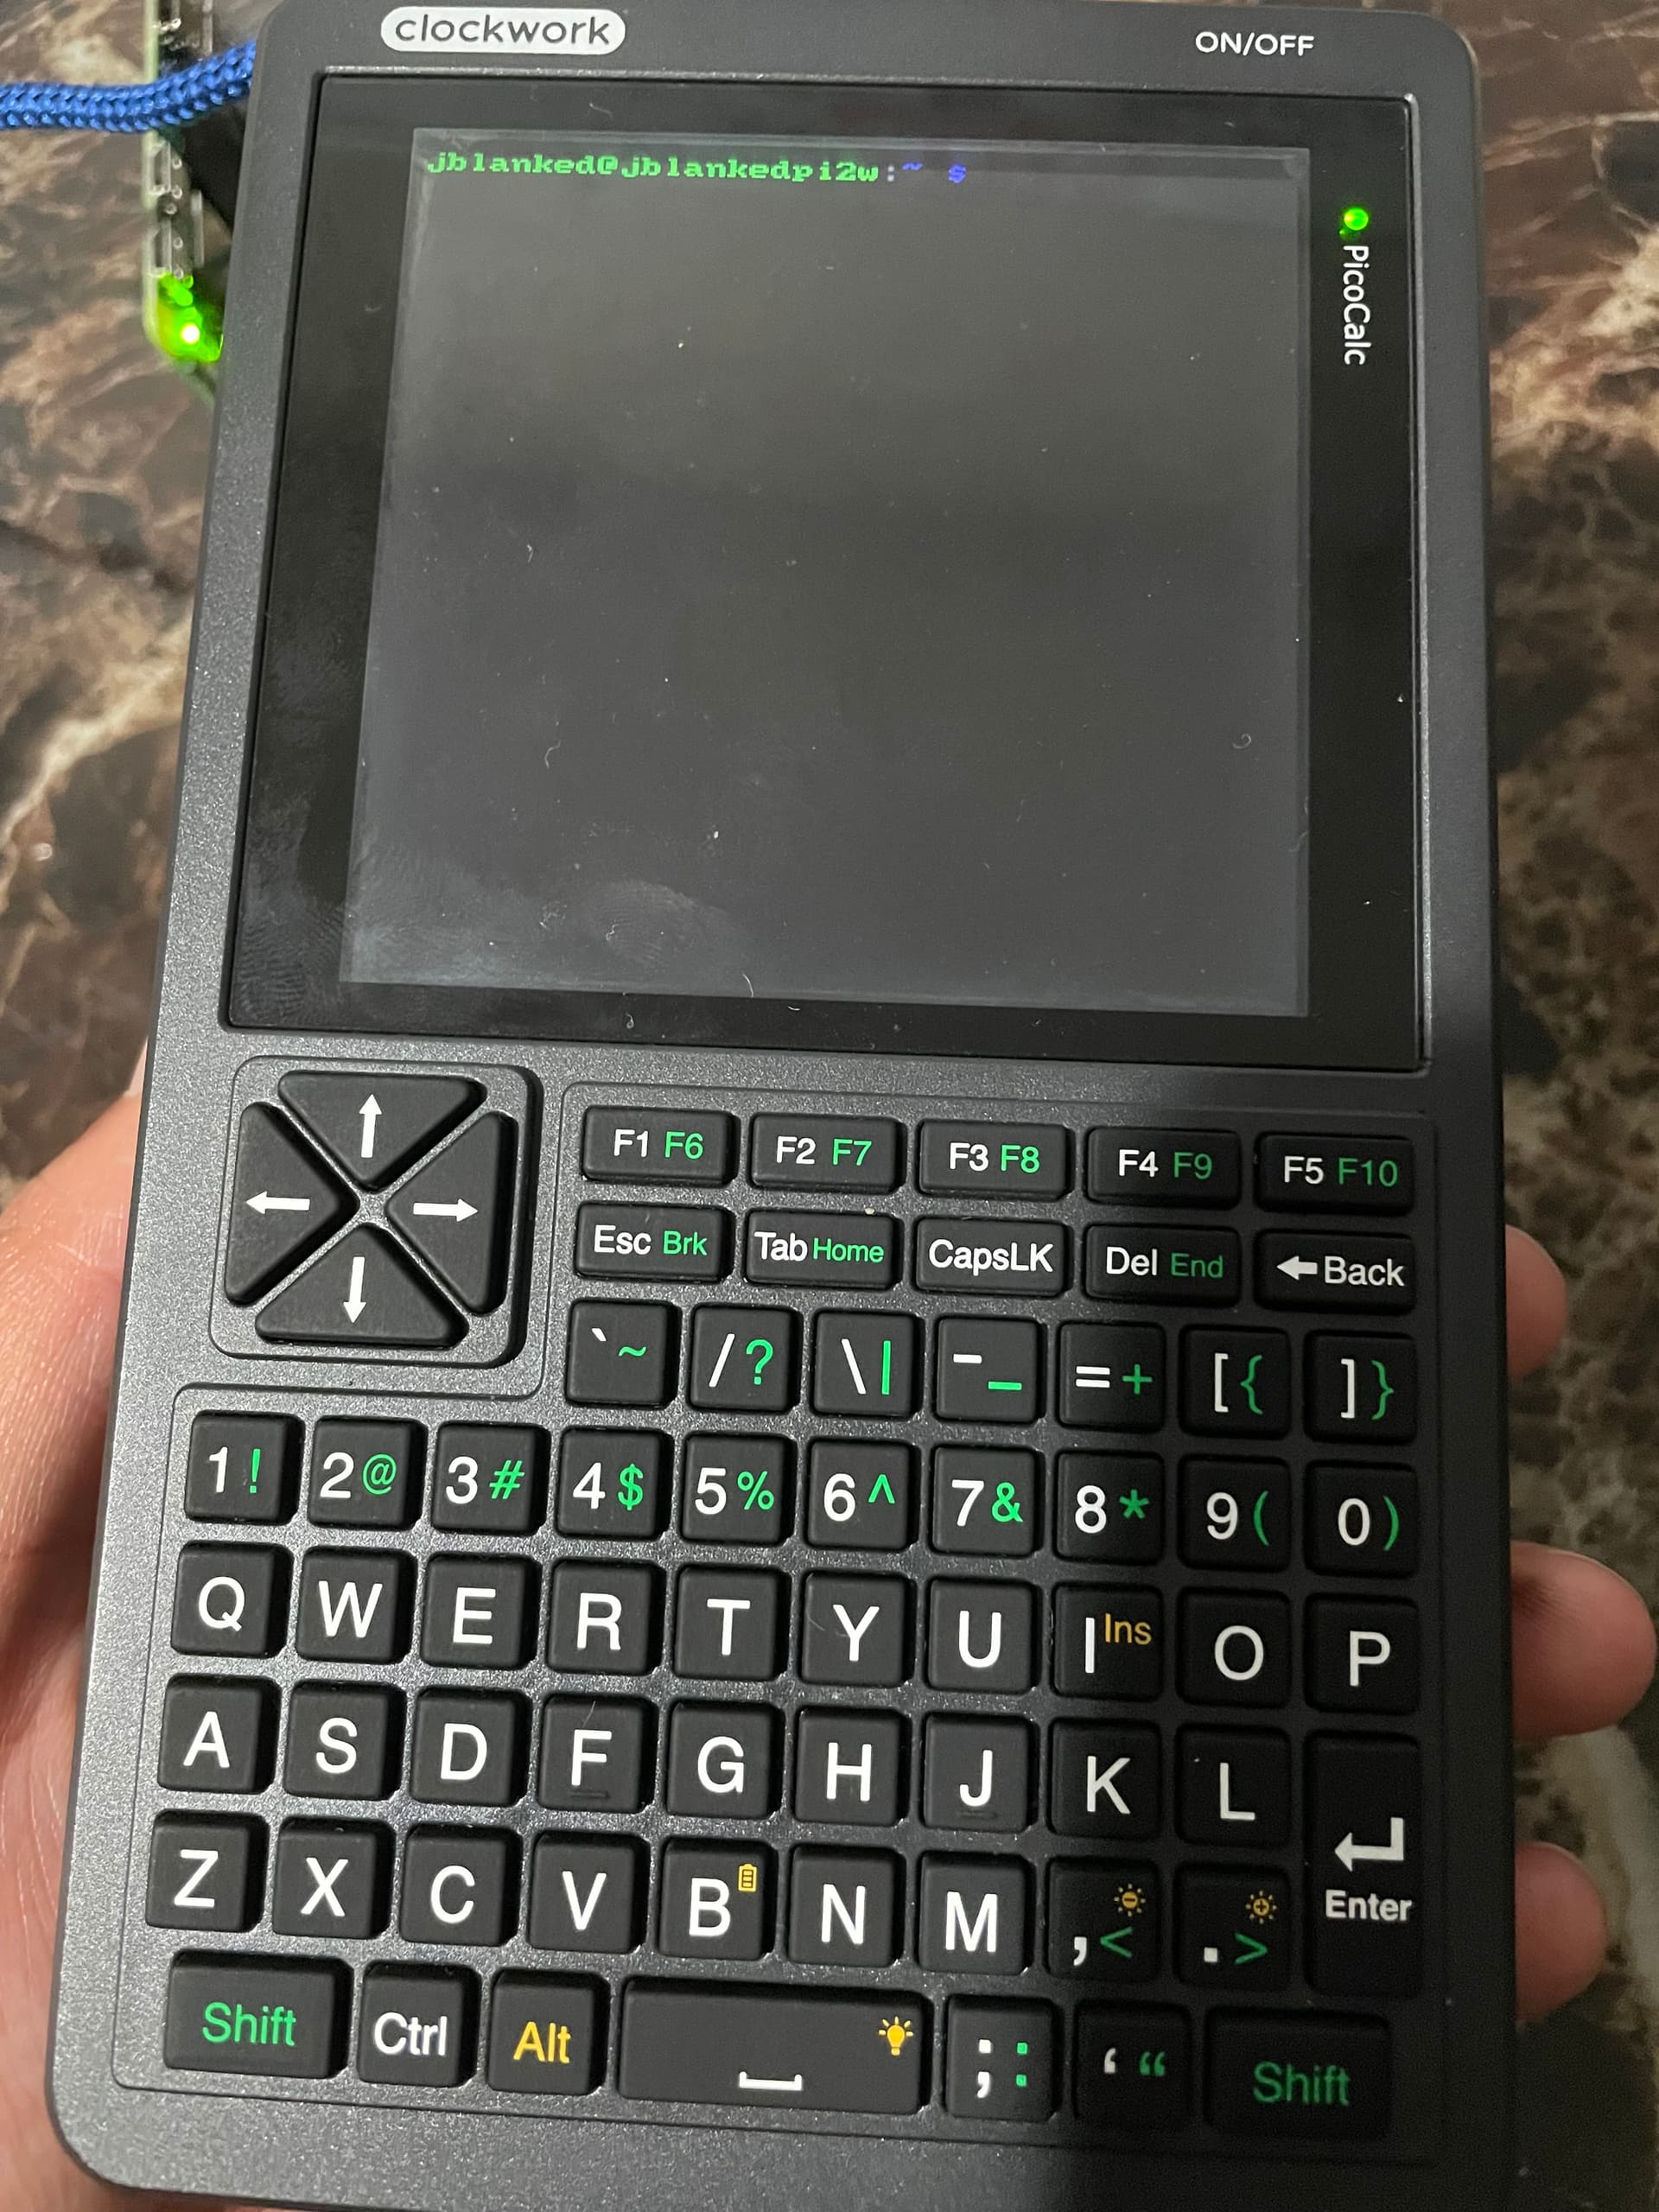
I have success with trixie lite 32 Bit version:
Install Mipi Drivers like described in Git Hub:
Modfiy Keyboard Script.
For the keyboard you have to change the setup_keyboard_script: (kernel-package instead of raspberrypi-kernel-headers)
sudo apt update
sudo apt install -y \
    build-essential \
    kernel-package \
    device-tree-compiler \
    git
(Compile takes 40 minutes because of recommended Packages, need to test it there can be deactivated.
Make the config.txt changes for audio, keyboard and display
Add
fbcon=map:1 fbcon=font:MINI4x6
to the end of /boot/firmware/cmdline.txt
Install sdl2
sudo apt install libsdl2-2.0-0
sudo apt install libgles2
It works!
Now you have a Pico8 machine.
2 Likes
I’ve just confirmed that “picocalc-pi-zero-2” works fine on “Legacy 32-bit Bullseye” by following the instructions for “picocalc-pi-zero-2.”
To be honest, I can’t seem to figure out what’s different about your environment.
…Perhaps there is a wiring mix-up for the SPI, or the wiring is too long and is interfering with SPI communication.
…Alternatively, one of the cables used for wiring may be broken or the connector may be loose.
You may need to test the wires for continuity with a multimeter.
Anyway, thanks to @michael_mayer’s great work, the technology to get “picocalc-pi-zero-2” working on Bookworm/Trixie has been established and shared, so I think it’s a good idea to try it out.
I hope your project goes well.
2 Likes
Interesting, using the latest Trixie, I see the screen flash a few times and then black screen again.
I’ll take another look at my wiring but here’s what I did step-by-step:
- Install the latest trixie 32-bit lite version
- Install the keyboard driver:
sudo apt-get install locales-all
sudo apt update
sudo apt install -y git

git clone https://github.com/wasdwasd0105/picocalc-pi-zero-2.git

cd ./picocalc-pi-zero-2
chmod +x ./setup_keyboard.sh
sudo nano ./setup_keyboard.sh
then replace: raspberrypi-kernel-headers with kernel-package, and save (Ctrl + X), then y, then click enter/return
Then run
sudo ./setup_keyboard.sh && sudo reboot
- Follow the steps from
Display with MIPI_DPI_SPI(GitHub - ironat/picocalc_bookworm):
git clone https://github.com/ironat/picocalc_bookworm
cd picocalc_bookworm
sudo cp picomipi.bin /lib/firmware/.

sudo nano /boot/firmware/config.txt
Then add this towards the top (after # Enable audio):
dtparam=i2c_arm=on
dtoverlay=picocalc_kbd
dtoverlay=mipi-dbi-spi,spi0-0
dtparam=compatible=picomipi\0panel-mipi-dbi-spi
dtparam=width=320,height=320,width-mm=43,height-mm=43
dtparam=reset-gpio=25,dc-gpio=24
dtparam=backlight-gpio=18
Then save (Ctrl + X), then y, then click enter/return
Lastly run
git clone https://github.com/notro/panel-mipi-dbi/
cd panel-mipi-dbi/
./mipi-dbi-cmd picomipi.bin picomipi.txt
sudo cp picomipi.bin /lib/firmware/.
sudo apt install libsdl2-2.0-0
sudo nano /boot/firmware/cmdline.txt
Then add this at the end of the line: fbcon=map:1 fbcon=font:MINI4x6 and then save (Ctrl + X), then y, then click enter/return
Lastly, reboot
sudo reboot
Ok,
I checked your steps and I can’t make out any mistake. (Maybe the cables or the wiring)
can you please run the commands to check if the display installation was correct?:
ls /dev/fb*
ls /dev/dri/
ps.: there is one point I would like to mention: If you make an sudo apt upgrade and you get a new kernel version you have to copy the keyboard drivers again. (maybe compile it also)
I have done a Video today but I I have done too many mistakes, I have to reshoot it.
Hi,
I have done now a own Repository for Trixie and put everthing in one place:
If someone could test it please?
3 Likes
Looks very straightforward now, thank you!! I’ll do a test again tonight ![]()
1 Like
The instructions looked great. I noticed some minor typos (that I think I corrected below)
Step 5:
Install Keyboard Before you execute the setup_keyboard.sh script ensure to set two parameters for apt. create a file /etc/apt/apt.conf.d/99local
Content:
APT::Install-Suggests "false";
APT::Install-Recommends "false";
Now execute the script.
cd picocalc_trixie
chmod +x setup_keyboard.sh
sudo ./setup_keyboard.sh
Everything else was perfect. I just updated my SD card, now I’m going to try the wiring again and report back
1 Like
Awesome job, it works!! Turns out my batteries weren’t strong enough to run it
I’ll do a tutorial/review with the male-to-female jumper wires (Wednesday) and I’ll finish soldering the custom board tomorrow afternoon. Is there anything you want me to mention in the video? And if I switched to the Desktop version, could I follow those same steps?
2 Likes
Thanks for Testing!!
For Desktop the steps are basically the same. But you should use Wayland and RPD to allow Desktop extension to HDMI.
1 Like
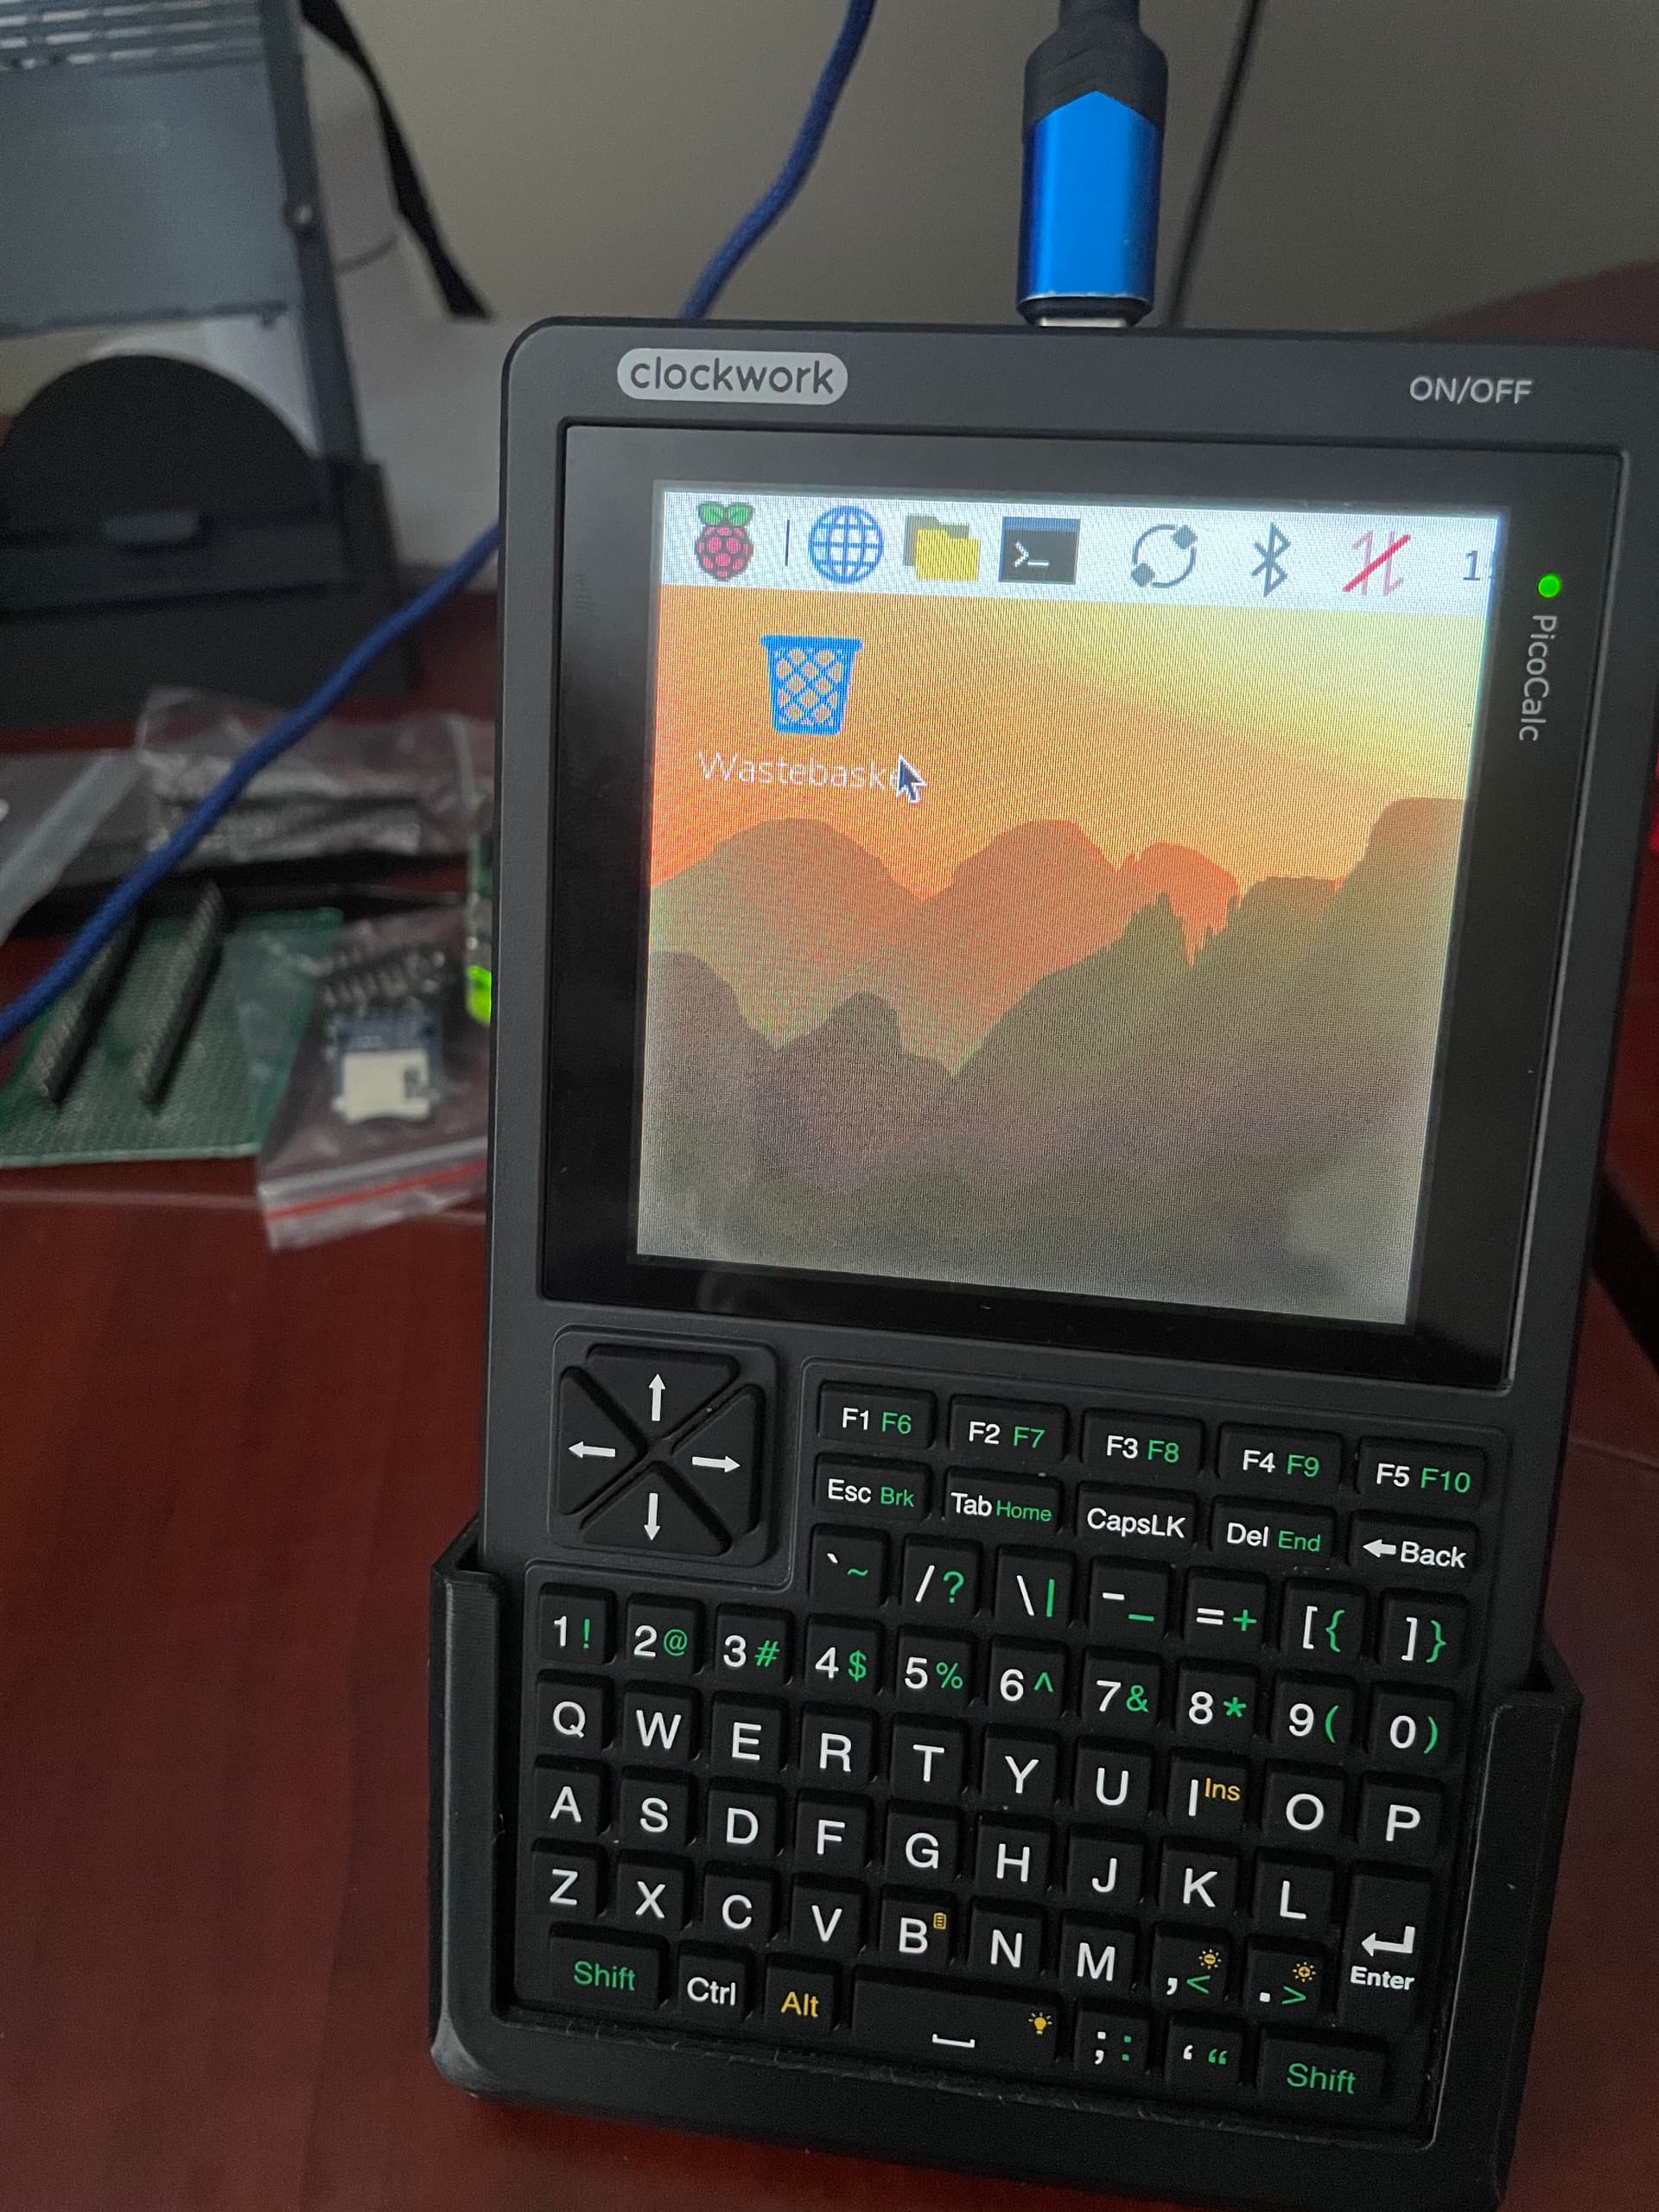
How do I control the mouse in the Desktop version?
using the right shift and the square brackets (it is somewhere described) or using a usb mouse.
1 Like
That did the trick, thanks!!
Press Shift (the bottom right one) to enter “mouse” mode. From there use the d-pad to move up/down/left/right and ] to select/left-click
1 Like
I did a tutorial/review of this project. I went over all of the steps from start-to-finish!!
https://www.youtube.com/watch?v=LvNtWaM17Pg
Thanks again for you work on this project @michael_mayer @n602_na ![]()
6 Likes
I have found a solution for slow pico8 Frame refresh:
(before there was a warning that it runs below 30 fps)
Add Speed and clock-frequency:
dtoverlay=mipi-dbi-spi,spi0-0,speed=70000000
dtparam=compatible=picomipi\0panel-mipi-dbi-spi
dtparam=width=320,height=320,width-mm=43,height-mm=43
dtparam=reset-gpio=25,dc-gpio=24
dtparam=backlight-gpio=18
dtparam=clock-frequency=50
I am not sure it 50 Hertz makes problem down the line. Do someone know if this may be a issue?
BTW: 40 Hertz is to slow.
4 Likes
How crucial is it to keep that board spacing? My female headers just came in ![]()
I guess my question is, without the spacing, will I still be able to connect the Zero to the headers without having to take apart the back panel?
1 Like
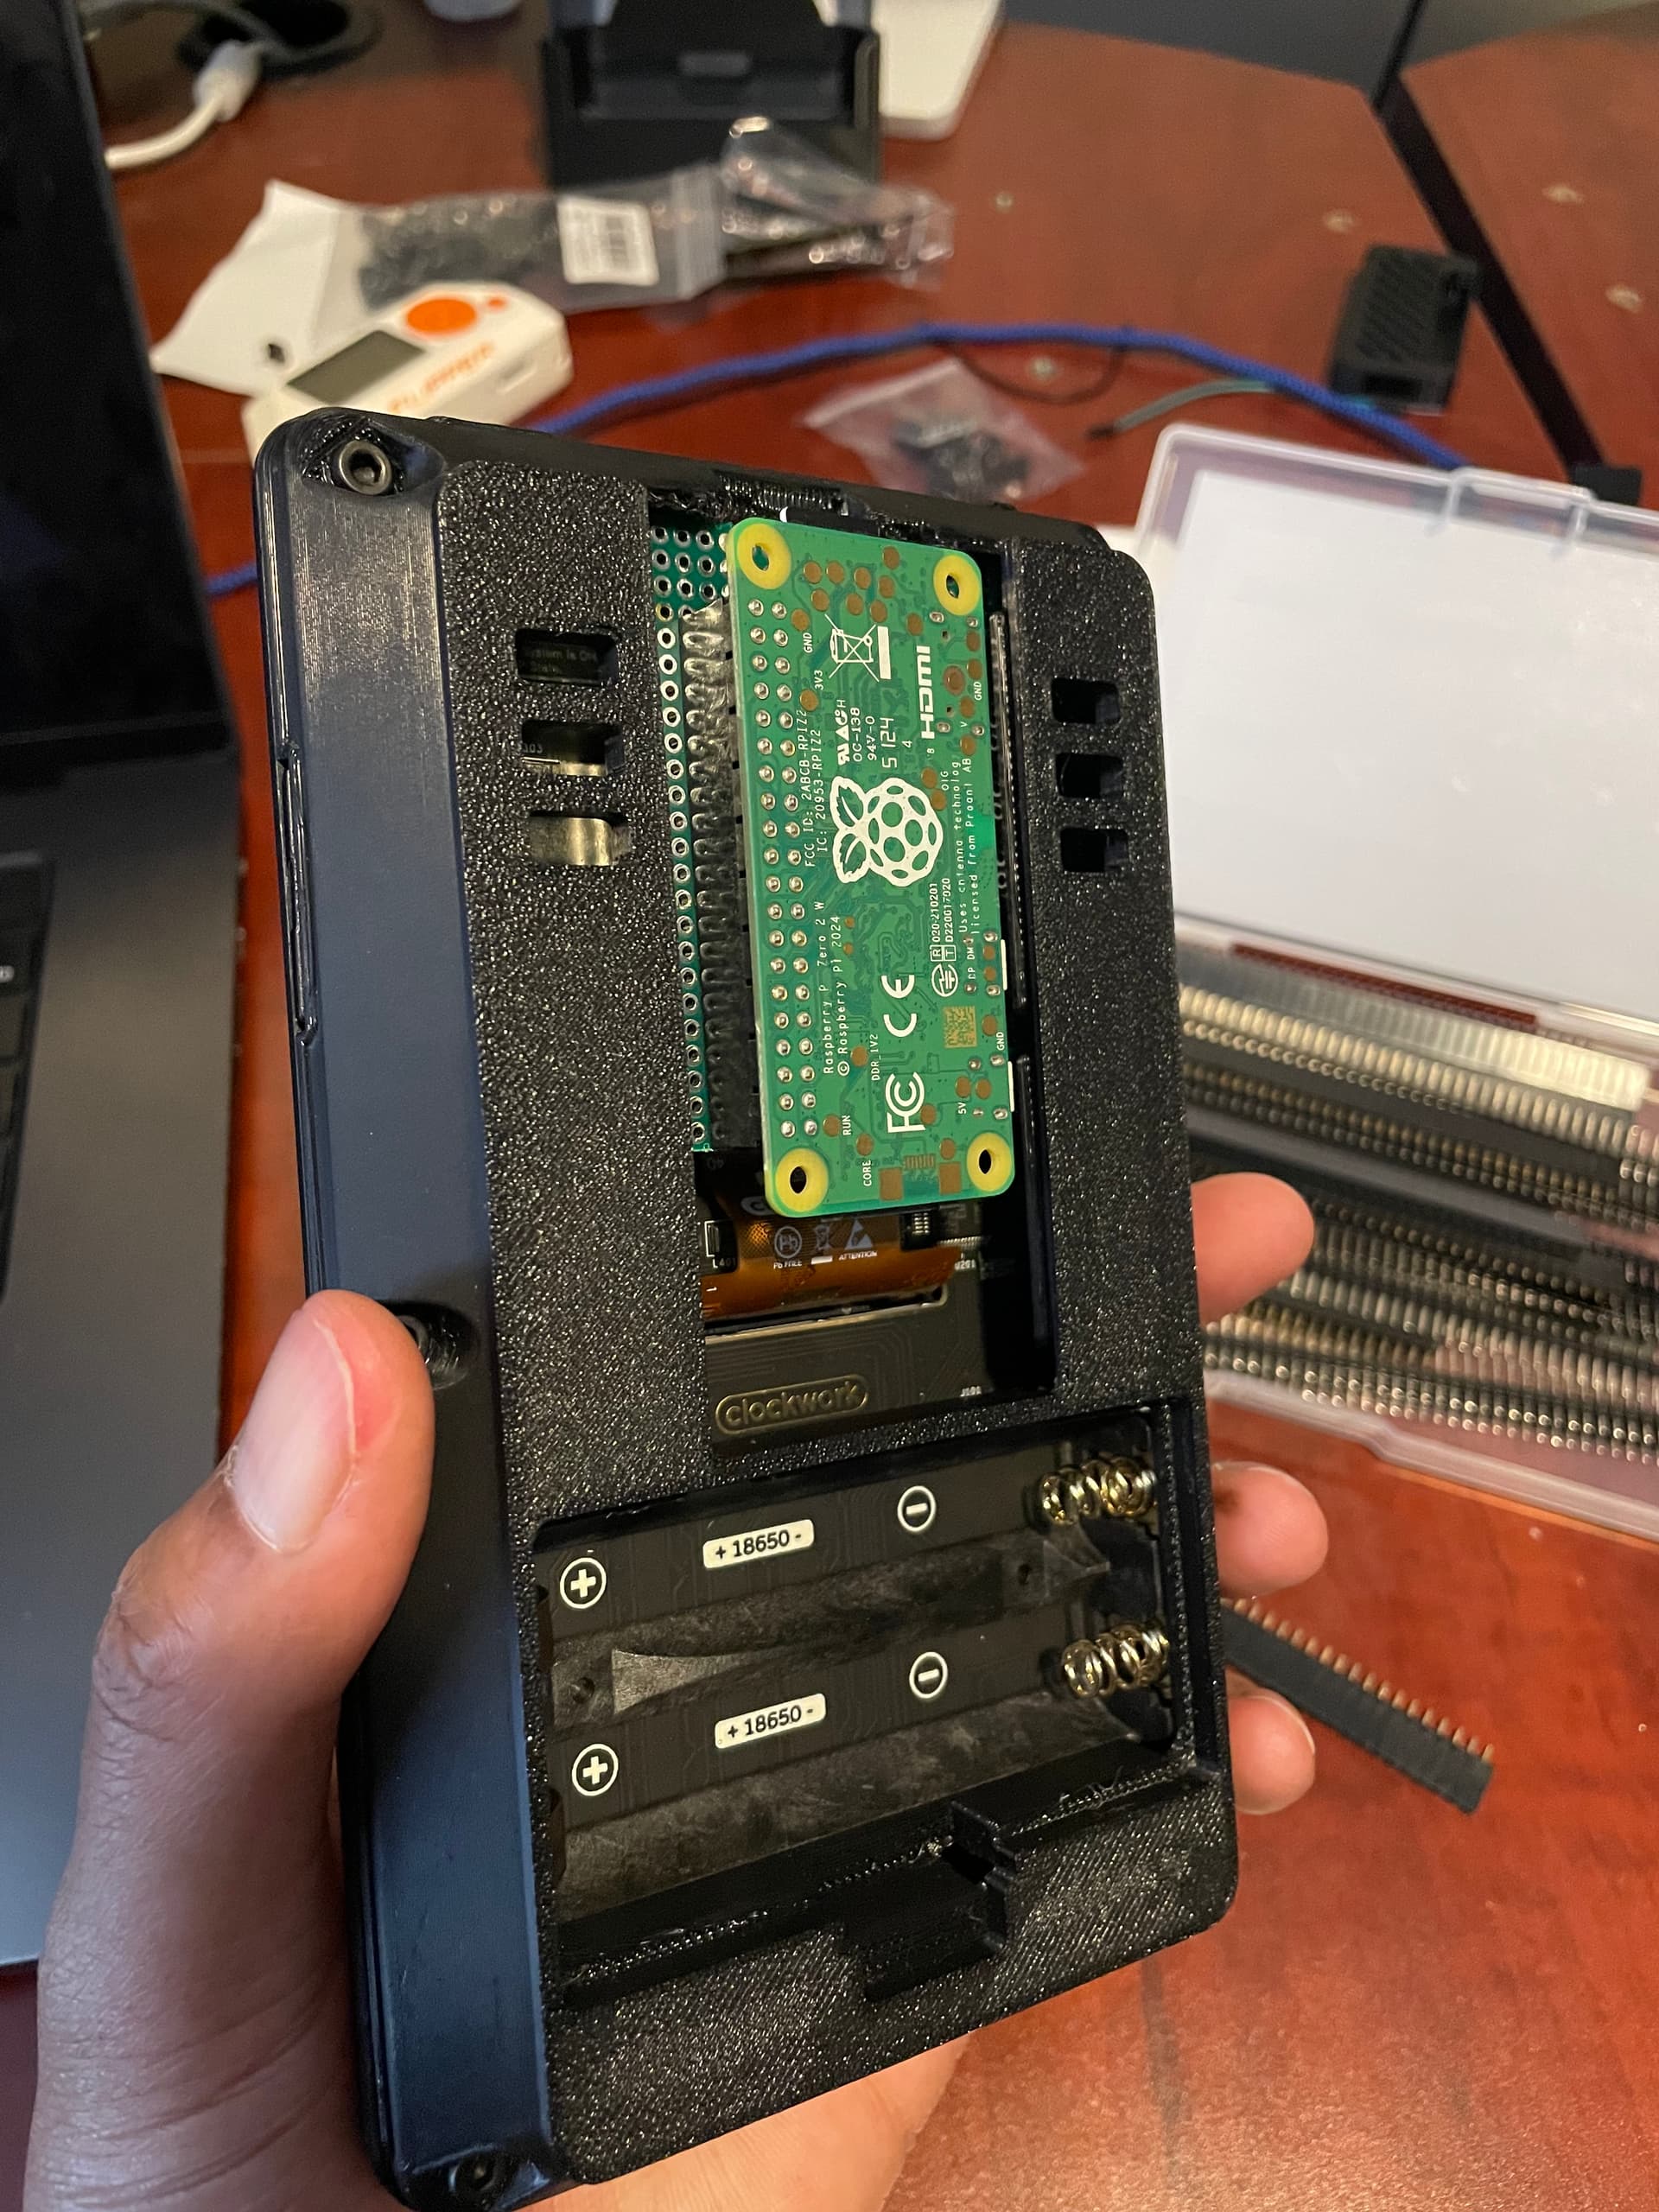
The reason I said “16mm of space is necessary” is to make it easier to connect some kind of device to the RasPiZero2W’s USB.
As you can see from the photo, the hole on the side of the case covering the RasPiZero2W is for connecting USB devices.
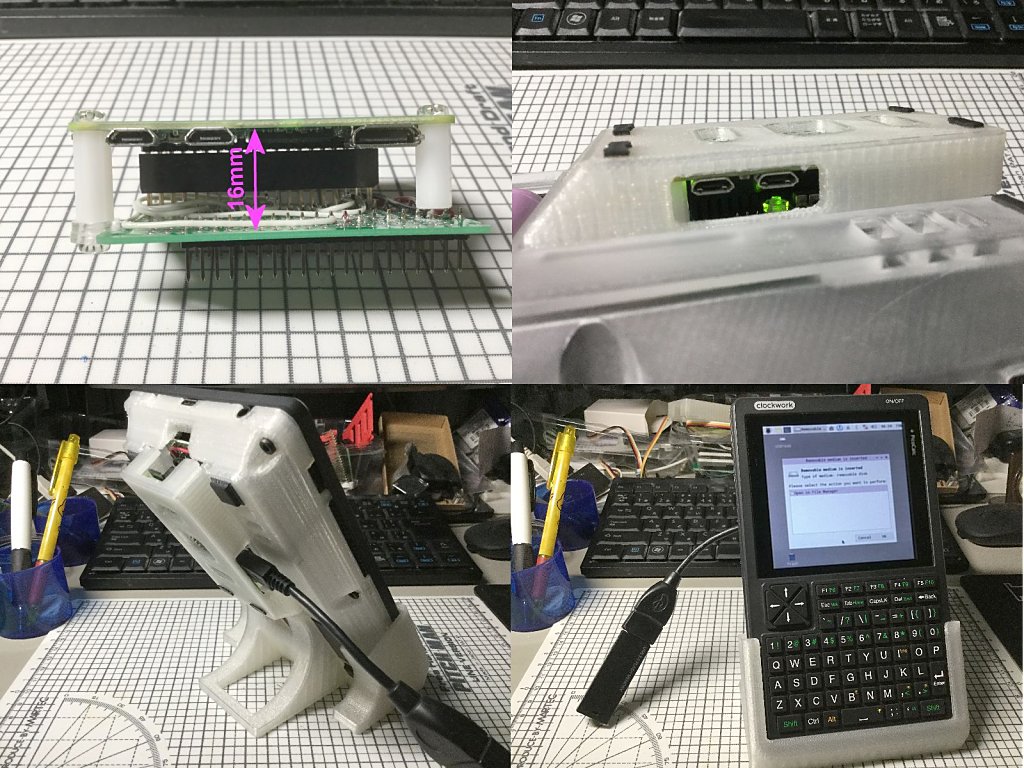
A space of about 16mm is needed to align that hole with the USB on the RasPiZero2W.
This allows you to connect, for example, a USB memory stick, as shown in the photo.
However, if you don’t connect any USB devices to the RasPiZeroW2, it doesn’t matter if the clearance is narrower than 16mm.
1 Like
Hi,
I have updated the GITHUB Page and added Installation:
fbterm - Nice font size
tmux - works also with battery in the status bar.
I tried byubo, but it was to complicated to find where to change the theme or the font.
Also I have detected a Bug regarding SDL2, pygame and pico-8:
You must install also:
sudo apt install libegl-dev
Or it will not work.
Update:
I managed to automatically poweroff the device with i2c on “sudo poweroff”. You can find the update on github.
4 Likes